The HF-P1 is a lightweight antenna with HF to UHF coverage, designed for portable operations where size and weight are important. Thoughtful design and the use of quality materials make it look like a reliable choice for outdoors aficionados, but is it so ? Read further to find out.
Looking for the HF-P1 name, not many results popped up – it’s not a very widespread brand name. The HF-P1 is sourced in Germany and you can find it in amateur radio shops there, plus probably a few other countries in the EU. It’s not clear who is the manufacturer as the german websites don’t list one and the product comes in a whitebox, but it seems identical to the Superantennas MP1B (US made). The small leaflet inside just says “HF-P1 portable HF antenna”, so that doesnt help much.
The leaflet also claims that this antenna can cover 3.5MHz to 440MHz, a bold claim that got easier to understand once I saw what it’s all about. The design is optimised for small size, reduced weight and versatility, being able to form a resonant antenna system on almost any frequency between 3.5 and 440MHz by the use of various fixed or adjustable elements and coils.
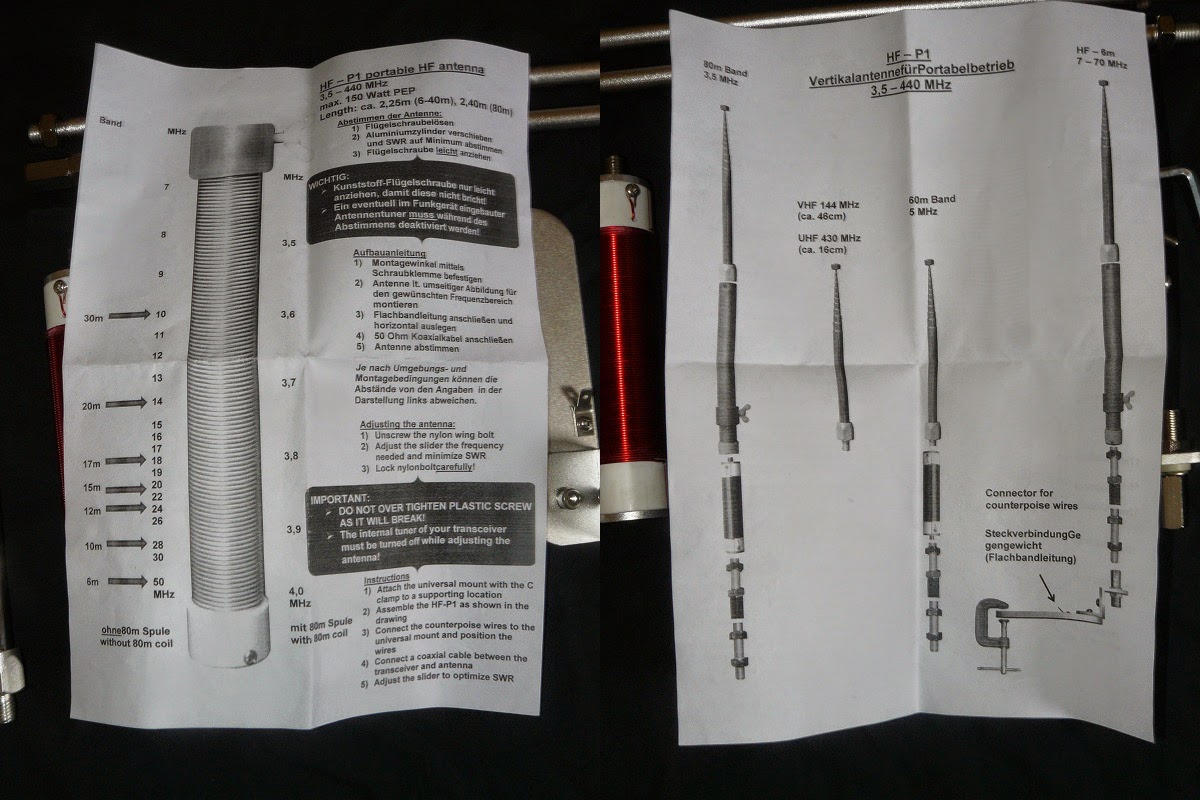 |
| HF-P1’s leaflet contains the minimal information needed to get you going |
The package is comprised out of a small black handbag, a whitebox that contains all the antenna parts and a tripod that comes separately; unfortunately I didn’t get the tripod so I can’t show it. All the package (tripod excluded) doesn’t go above 1.4Kg.
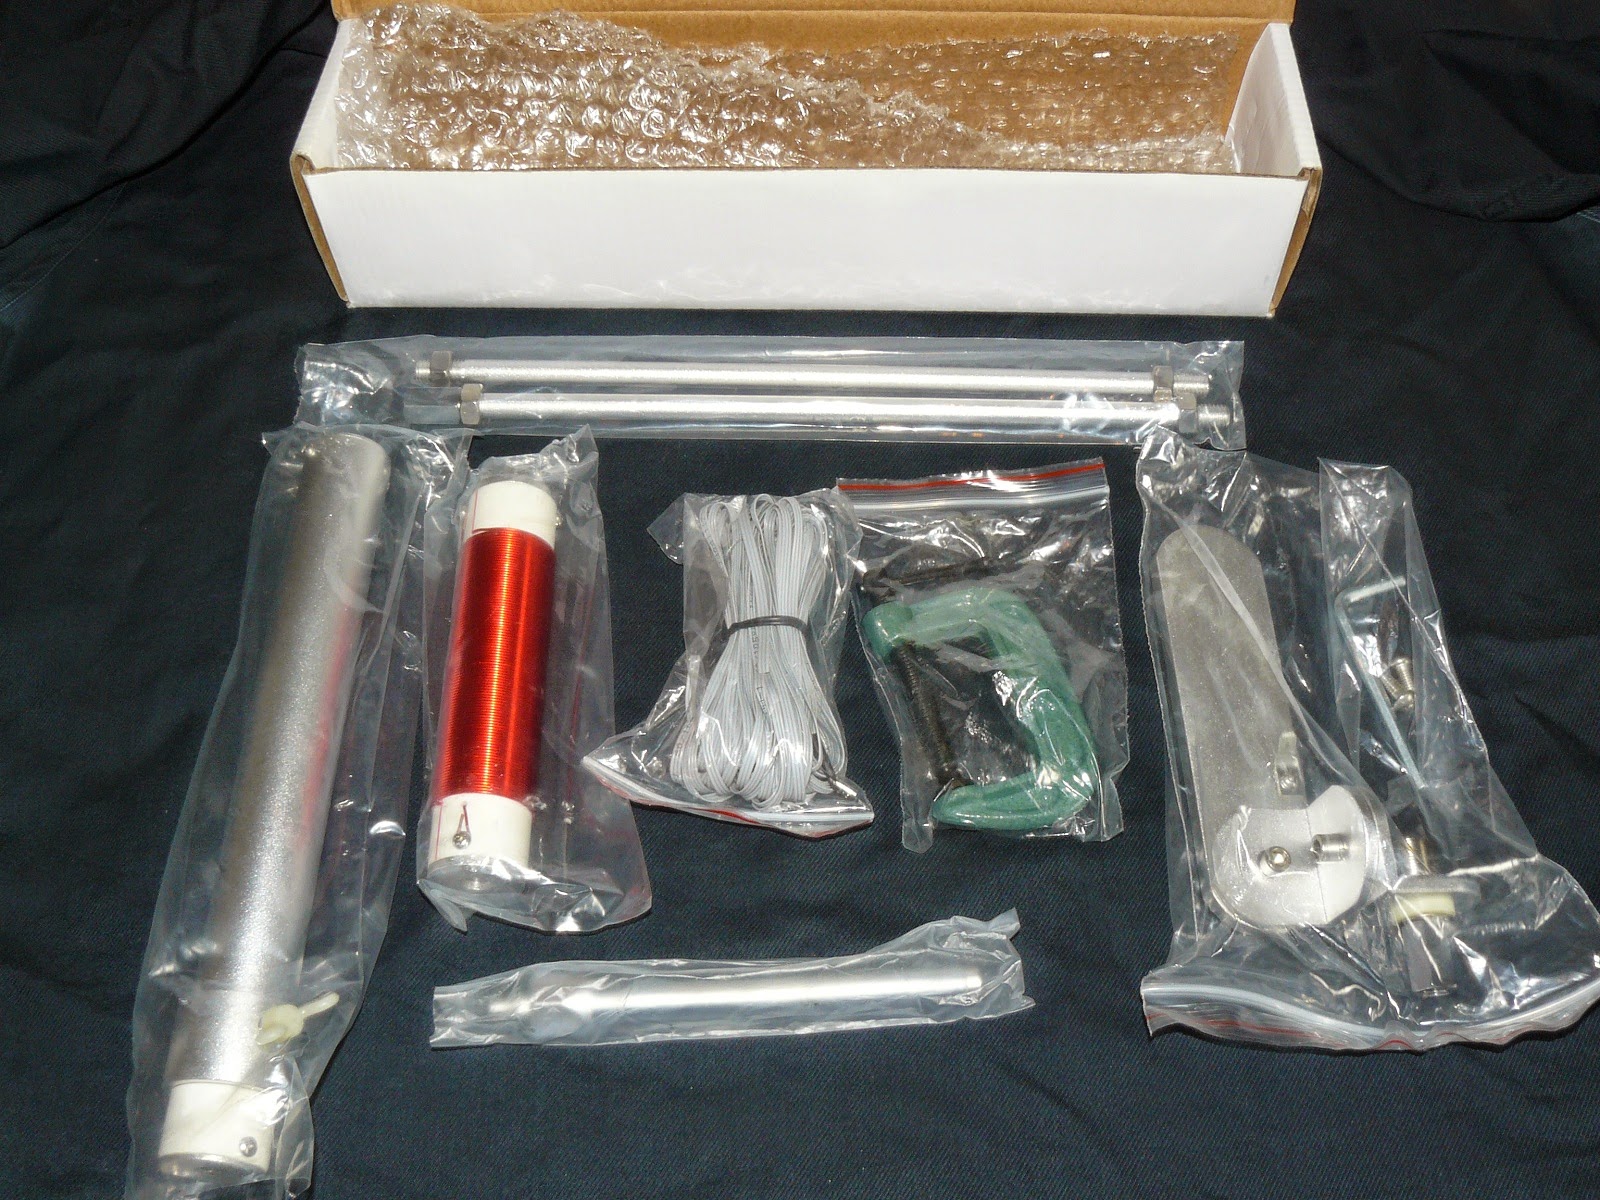 |
| HF-P1’s whitebox package |
The mounting system includes a quality SO-239 connector with a gold-plated center pin and is made out of 3 pieces of thick aluminium. This – together with the provided C clamp, allows for mounting to any edge or pole you can find, as well as adjustment of the antenna for the preferred direction (generally, vertical). The adjustments use Phillips head screws for tightening, but the package also contains replacement hexagonal head screws as well as the necessary key, wich I found more practical and quickly replaced the original Phillips ones.
 |
| Each part’s role is easy to understand even without instructions |
The package comes with a set of 4 radial strips about 2.5m long, all joined into one connector that attaches to the mounting system. Each of these strips are made out of 3 very thin (0.2mm maybe?) paralleled wires in a common jacket, wich makes it look like strips from old IDE hard-disk cables.
The first part of the antenna are two solid aluminium sticks, each 305mm long and 10mm thick, that connect to eachother and screw into the mounting system. These are the longest elements of the whole thing, so if you are considering alternative packaging while hiking, it should be at least 305mm long.
At the end of the second stick, the adjustable coil screws in. It’s body is made out of what seems to be solid polytetrafluoroethylene (shortly PTFE), also known under the commercial name Teflon. The body has a helical groove on the outside that helps forming the coil, wich is made out of silver-plated 1mm wire. The coil’s casing is made out of solid aluminium and has thin copper fins on the inside of the lower end, that touch the coil. By moving the casing up, the fins slide across the coil and you are inserting more of the coil into the circuit. There is also a small plastic (nylon) screw that helps fixing the coil adjustment into place, wich needs to be handled carefully as seems very fragile compared to the rest. Unfortunately you can’t make this screw out of solid metal since it needs to be electrically insulating, so plastic was their second choice; I wonder if PTFE wouldn’t have been better (as it’s more solid).
On top of the coil you need to screw in the telescopic whip, wich is about 1.1m long when fully extended. As described, the antenna covers 7 to 70Mhz depending on adjustments. If you want to cover the 3.5 or 5Mhz bands you need to also insert the fixed coil into circuit, and for 2m, 70cm anf anything else inbetween, you need to throw everything and just use 1.1m adjustable whip, set to a proper length (a little below a quarter wave on each band).
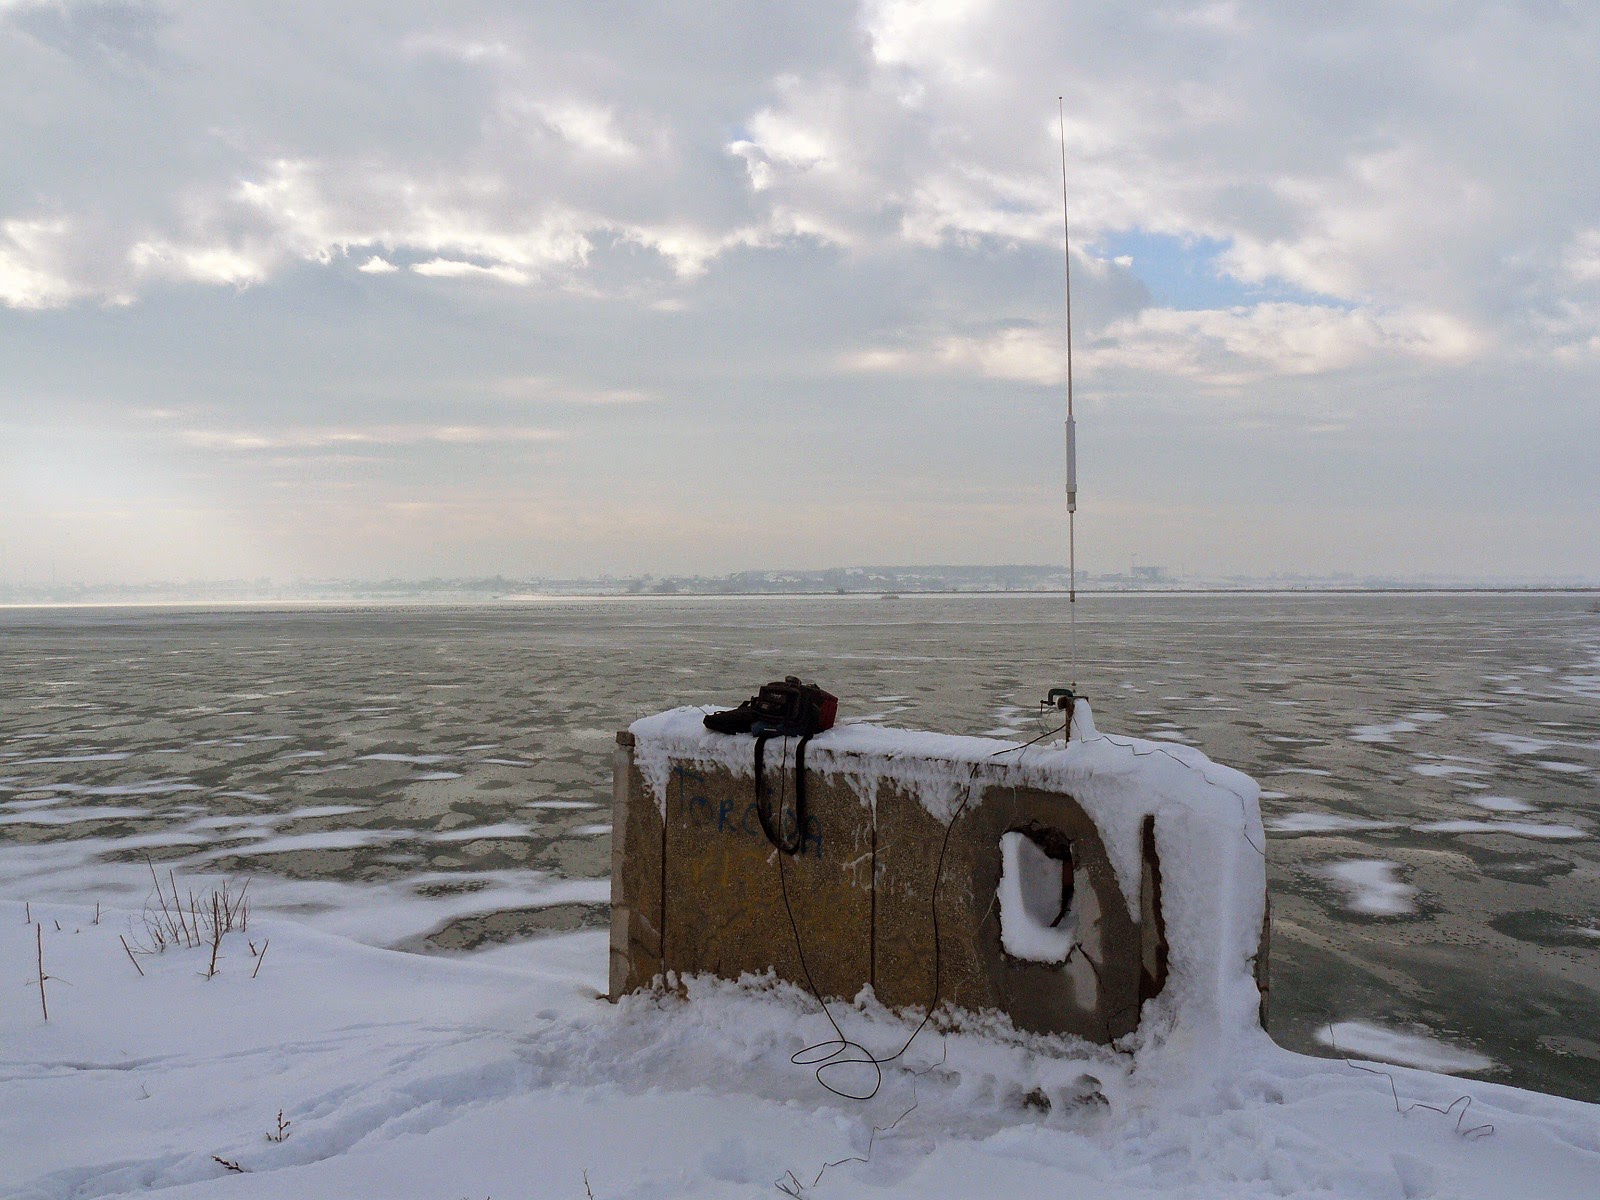 |
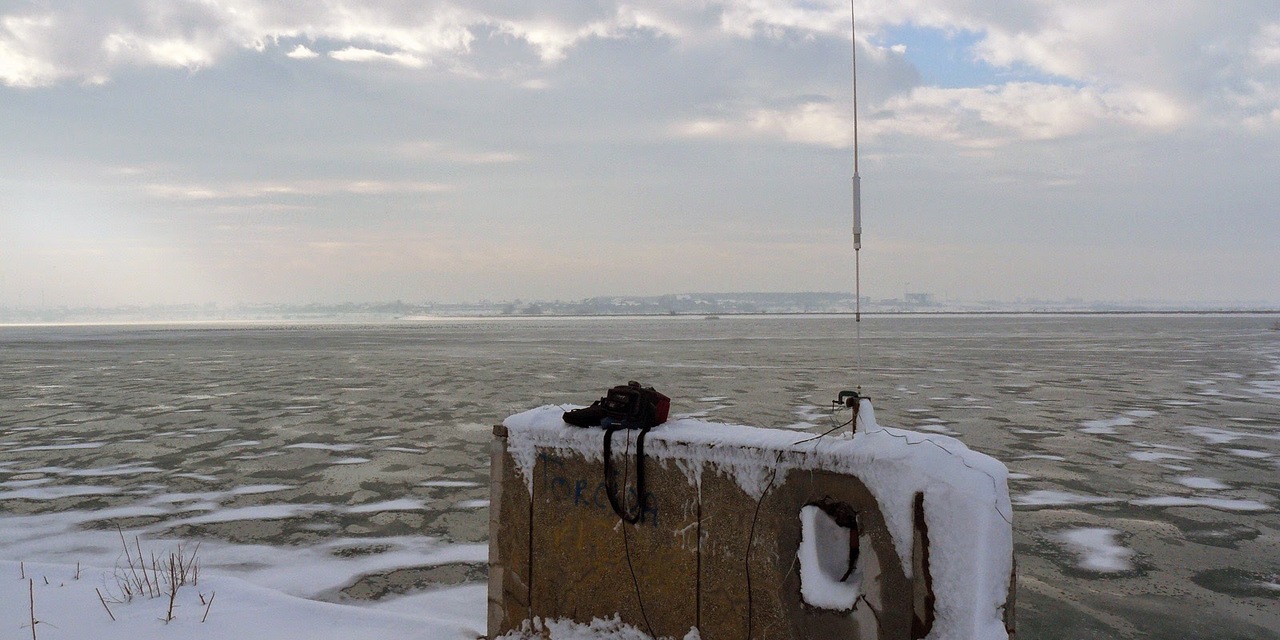
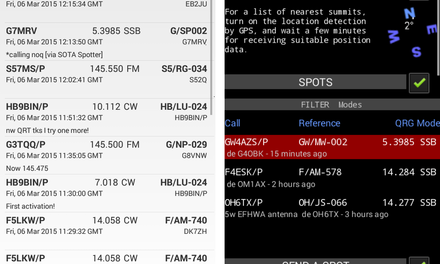
| Portable setup at the Morii lake in Bucharest, on the first days of 2015 |
Using the antenna, I found the coverage is pretty much as described, but please keep in mind that in the lower bands the bandwidth is very narrow and you will need multiple adjustments if you are changing frequencies inside the same band. In the upper bands one adjustment covers a large part of the band but it is much harder to find the sweetspot: on 10 or 12m, moving the adjustable coil even 1-2mm (to the next turn) changes the SWR drastically. The adjustment technique is quite easy, just move the coil until you get the highest receiver noise and check the SWR with the transmitter; from my experience, in 80% of the cases the SWR was minimal and it needed no further adjustments. Touching or even being very close to the antenna detunes it, so while doing the finer adjustments you need to adjust, step back a meter to check for RX noise, repeat. I found it a bit uncomfortable to adjust the coil with just one hand – it doesn’t slide very easy, it’s much easier to get accurate adjustments if you do it with both hands. It appears the small plastic screw that is supposed to lock the adjustment into place might not even be needed, but on the other hand maybe after a few years of use the coil would slide much easier and a locking sistem would be needed. If adjusting the coil in very cold weather, pay attention to the fact the casing is metal and naked skin tends to stick to very cold metal :). The materials are sturdy and it would be hard to damage while carrying it in rough conditions, the only fragile parts remaining the infamous plastic screw and the telescoping whip, but only if extended.
 |
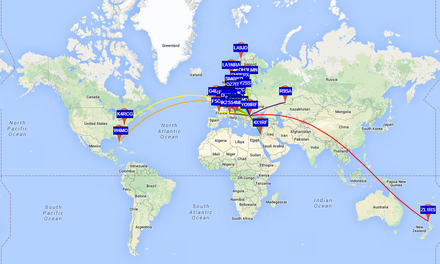
| Improvised mounting on Seciu peak, SOTA YO/EC-520 |
Earlier in the review I mentioned the optional tripod, wich I don’t have. Well, I can tell you it would be useful as it’s hard to find a proper edge to mount the clamp system on a mountain top. Sure, the tripod is rather small and you would probably need some plastic guy wires to hold it in place in high winds (common on mountain tops) and would probably add another 0.5Kg or so to your backpack, but it’s infinitely easier to install the antenna using it.
As far as efficiency goes, it is not very bad but it isn’t very good either. Being very short in the lower bands (2.4m set up for 80m) you can’t expect too much, but as soon as you’re on 20m or higher things are looking better. One thing I noticed was the higher noise it was picking up compared to other portable antennas I used (even higher than my 42m long OCFD in the middle of Bucharest), but it’s not a deal breaker since the main problem when portable on low power is not hearing people, but being heard by people. I’ve managed to work all around Europe with 5W on SSB from 20m to 10m with it, so it does work fine.
The power rating is 150W wich should be more than enough for any kind of portable setup, but I have my doubts about the efficiency at those power levels: the radials are simply too thin to support high return RF current. The build of the antenna in general can surely take 150W though.
Overall, I can’t say it’s a better or worse performing antenna than my usual SOTA setup: 6.5m of vertical wire on a fishing pole, 9:1 UnUn, a few radials and a LDG tuner. But, it costs less than my LDG tuner alone (wich you won’t need with the HF-P1), can also cover the bands above 50MHz and you are getting a quality product that doesn’t depend on anything to work. Size and weight are competitive enough – doesn’t go in the ultra-lightweight SOTA equipment category but it’s not a burden either. I’d say the HF-P1 is a decent all-rounder: great product for outdoors, reliable when you go out activating SOTA peaks or WWFF protected areas, versatile when you want to have an antenna with you when on vacation.
Feel free to check out LCCOM, who provided the product for review purposes.


Nice honest review
Thank you
But should also report that it will radiate only 5% of the power on 80 m lika all mobile trap antennas. On 40 little less losses.
Thank you,Razvan for this useful review and shared experience.
Thank you,Razvan for this useful review and shared experience.